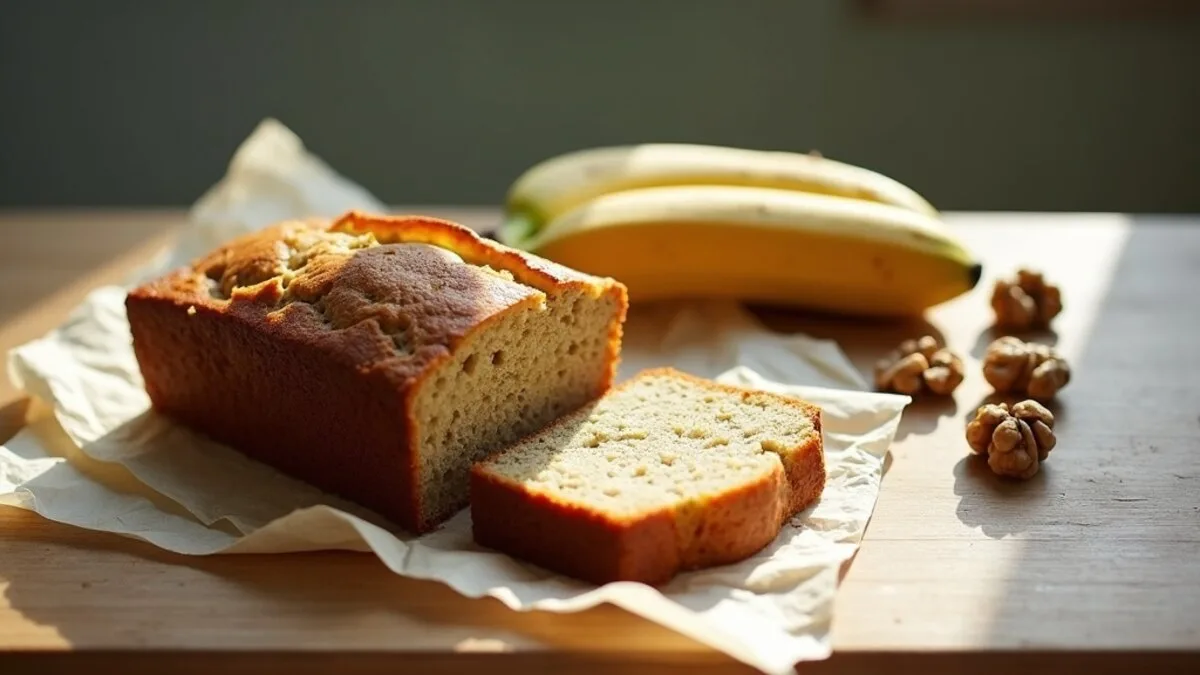
Easy vegan banana bread is made by mashing very ripe bananas into one bowl with sugar, oil and plant milk, then folding in flour and a little baking soda. There are no eggs and no dairy, the bananas do the binding and the moisture, and you get a soft, tender loaf in about an hour.
Why one bowl, and why no eggs
Easy vegan banana bread comes together in a single bowl because the bananas do almost all the work that eggs and butter usually do. They bind the crumb, they keep it moist, and they carry the sweetness, so there's nothing left to cream or whip or fuss over. You mash, you whisk, you fold, you bake. That's genuinely the whole thing.
I've been making this loaf for years, long enough that I no longer measure the bananas, and I want to give you the version I'd hand to a friend who'd never baked vegan before. It's forgiving in all the places baking usually isn't, which is exactly why it's the recipe I reach for when I want something warm in the house without much thought.
People assume egg-free baking is finicky or sad. This loaf is neither. The first time I made it I expected a dense, gummy brick. What came out was soft, golden and tender, the kind of thing you slice while it's still a touch too warm and eat standing at the counter.
I came to this version out of necessity, really. I had three bananas going black on the windowsill, no eggs in the house, and a vague memory of the loaf my grandmother used to make. So I improvised, leaned on the bananas, and was quietly astonished. That accidental loaf became the template I've tweaked ever since, and it's the one I trust enough to teach.
Banana bread has a long, comforting history, and you can read about the origins of banana bread if you're curious how a Depression-era way of using up old fruit became a beloved bake. Mine just leaves out the eggs and dairy, and honestly, you'd never guess.
What eggs and butter actually do, and why bananas cover it
It helps to know what you're replacing. In a traditional loaf, eggs bind the crumb and add a little lift, while butter brings fat, tenderness and flavour. Bananas, it turns out, handle the first two jobs almost on their own. They're pectin-rich and starchy, so they hold the structure together, and they're full of moisture, so the loaf stays soft for days.
The fat that butter would have added comes from a splash of neutral oil instead, which keeps the crumb tender without any creaming or softening to room temperature. That's the part I love most. There's no waiting for cold butter, no stand mixer, no second bowl to wash. The recipe meets you where you are on a busy afternoon.
So when people ask whether they need a flax egg or a commercial replacer, the answer is no. The banana is the egg, the binder and the bulk of the sweetness all at once. Layering extra binders on top is the fastest route to a gummy loaf, which is the one mistake I'd really steer you away from.
One bowl, honestly one bowl
I mean this literally. I mash the bananas in the bowl I'll bake from, add the wet ingredients to the same bowl, then tip the dry straight on top. No sifting, no creaming, no separate dry bowl. Fewer dishes is not a small thing on a weeknight. It's often the difference between baking and not bothering.
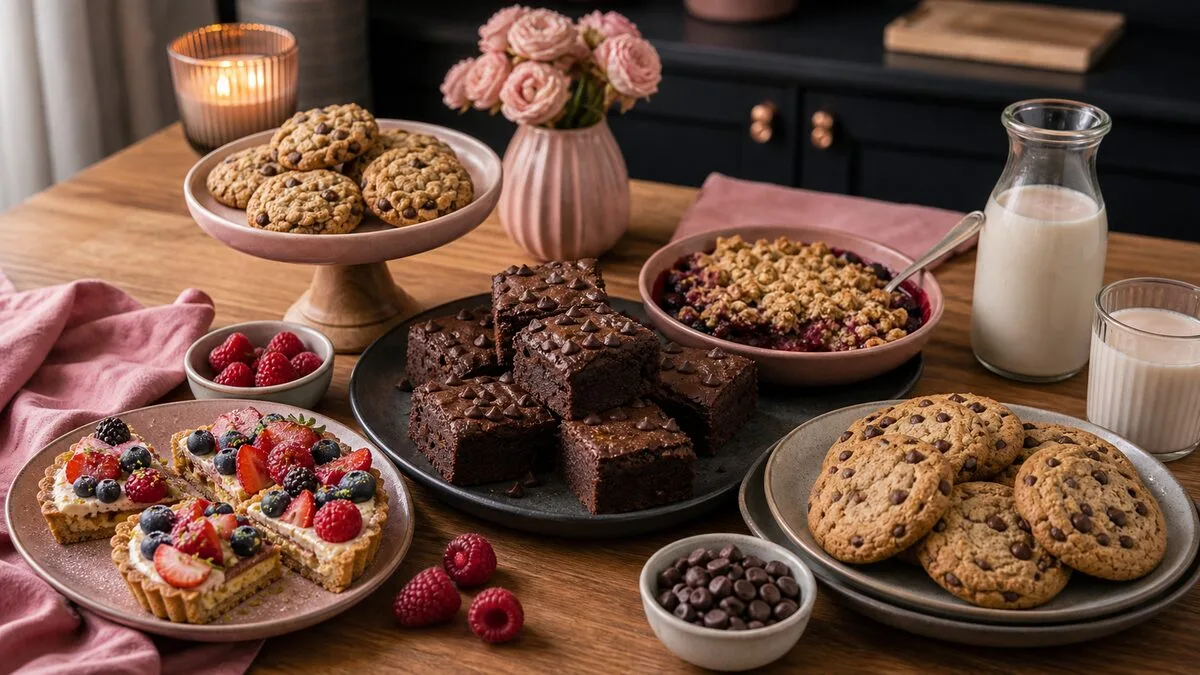
When I want something sweet without much fuss, I blend up my fudgy chickpea brownie recipe.
The bananas: how ripe is ripe enough
If there's a secret here, this is it. The bananas need to be properly, almost embarrassingly overripe. We're talking heavily spotted, soft to the squeeze, skins gone brown and freckled. The ones you'd be tempted to throw away are exactly the ones you want.
Ripe bananas are sweeter and softer, which means more natural sugar, more moisture and a mash that disappears into the batter without lumps. An underripe banana is starchy and bland, and it'll leave you with a loaf that tastes flat and feels a little rubbery. The fruit is doing too much important work to compromise on it.
How to tell they're ready
- The skin: you want lots of brown spots, not just a few. Fully brown skins are fine, even ideal.
- The squeeze: a ripe banana gives easily under gentle pressure. If it's firm, wait.
- The smell: ripe bananas smell sweet and fragrant. That aroma carries right into the loaf.
When your bananas aren't there yet
I rarely plan ahead with bananas, so I've leaned on a couple of cheats. To ripen them fast, bake whole unpeeled bananas at 150°C for fifteen to twenty minutes until the skins blacken and the insides turn soft and jammy. Let them cool, then use as normal. It isn't quite the same as natural ripening, but it's close enough on a day you've got a craving and green fruit.
The better habit is to freeze spotty bananas as you get them. Peel, bag and freeze. When you've got three, thaw them, drain off the watery liquid, and you're ready. I almost always bake from frozen bananas now, and the loaf is none the wiser.
A quick word on quantity
Three large bananas, around 350 g once peeled and mashed, is the sweet spot. I used to think more banana meant more banana flavour, so I'd cram in four or five. What I actually got was a damp, heavy loaf that sank in the middle and took forever to bake through. There's a ceiling, and going past it works against you.
If your bananas are on the small side, four is fine. If they're enormous, two might be plenty. I weigh them now, which sounds fussy but takes ten seconds and removes the guesswork. The wet-to-dry balance is the one thing this recipe is a little particular about, and the banana is the variable most likely to throw it off.
One more note from experience: drain thawed or roasted bananas before mashing. They release a surprising amount of liquid, and that extra water is exactly what makes a loaf gummy. I tip them into a sieve for a minute, press gently, and only then mash. It's a tiny step that quietly fixes a common complaint.
The method, start to finish
Here's exactly how I make it, one bowl, one whisk, one spatula. It takes about ten minutes of actual work, and the oven does the rest.
1. Get the oven and tin ready
Heat the oven to 175°C (350°F). Line a standard 900 g loaf tin with parchment, leaving a little overhang on the long sides so you can lift the loaf out later. I don't bother greasing if I've lined it well. The parchment is the difference between a clean release and a sad, stuck loaf.
2. Mash and whisk the wet
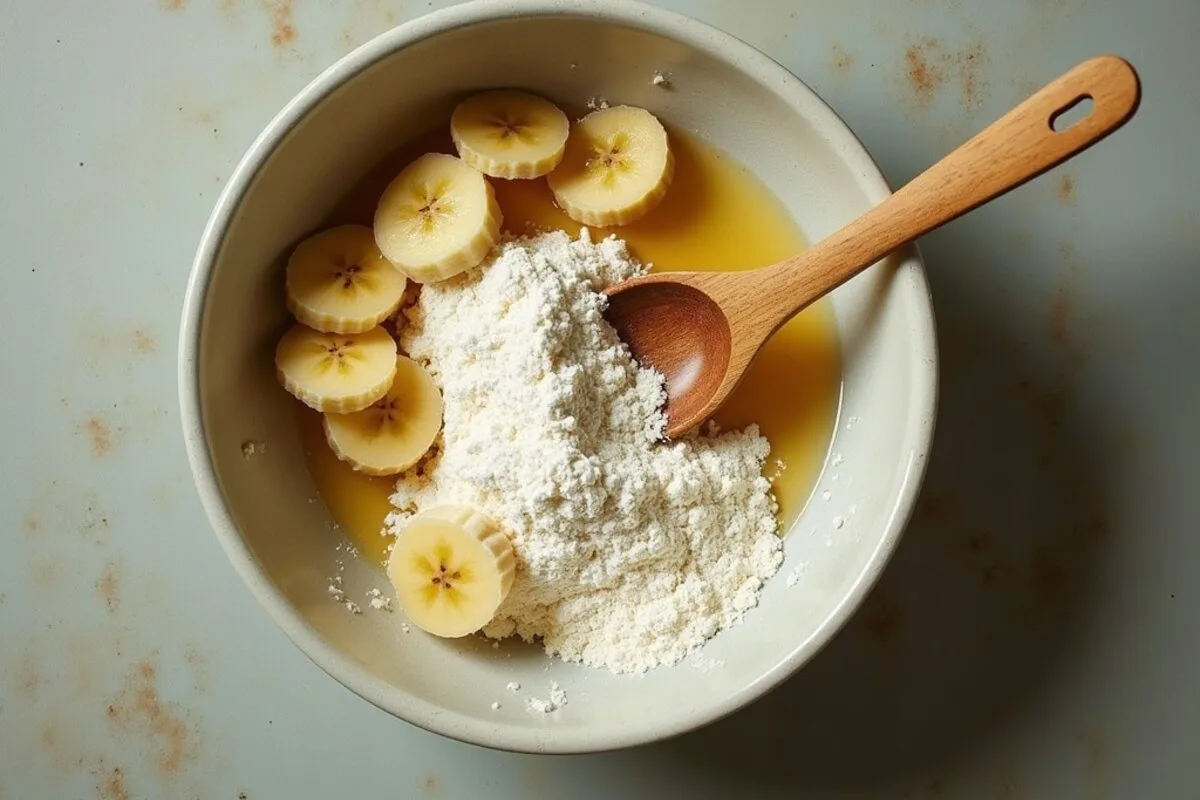
Mash the bananas in your bowl until mostly smooth, a few small lumps are fine. Add the brown sugar, oil, plant milk and vanilla, and whisk until it looks like a loose caramel batter. Don't rush this. A well-combined wet mix means an even crumb later.
A fork works perfectly well for the mashing, no need for a masher or a blender. In fact I prefer a few small lumps, because they melt into little pockets of intense banana as the loaf bakes. The sugar should dissolve into the wet mix and the whole thing should look glossy and pourable before you go anywhere near the flour.
3. Add the dry, fold gently
Tip the flour, baking soda, baking powder, salt and cinnamon straight on top. Now fold, don't beat. Stir just until the flour disappears and no dry streaks remain. The moment it's combined, stop. Overmixing develops the gluten and gives you a tough, tunnelled loaf, which is the most common mistake by far.
4. Fold in extras and bake
Fold through your walnuts or chocolate if you're using them, holding back a few to press on top. Scrape the batter into the tin and level it. Bake for 50 to 60 minutes. It's done when the top is deep golden, springs back to a light touch, and a skewer comes out with just a few moist crumbs, not wet batter.
5. Cool, and resist the knife
Let the loaf cool in the tin for fifteen minutes, then lift it out by the parchment onto a rack. This bit takes discipline. A hot loaf is still setting inside, and if you slice it straight away it'll squash and crumble and steam away its own moisture. Give it at least thirty minutes on the rack. An hour is better.
I know how hard that wait is when the whole kitchen smells of warm banana and vanilla. I've ruined more than one loaf by being impatient. The crumb firms up as it cools, and a properly rested slice holds together, toasts beautifully, and tastes more banana-forward than a too-warm one ever does.
The hardest part of banana bread is the twenty minutes you have to wait before slicing it. Cut it too soon and it crumbles.
The swaps that never fail me
This loaf is generous about substitutions, which is part of why I trust it. Here are the ones I've tested enough times to recommend without crossing my fingers.
The flour
- Plain flour is my default and gives the softest result.
- Wholemeal works for up to half the total, lending a nutty, heartier crumb. All wholemeal gets a touch dense for my taste.
- Gluten-free blend (a good one with xanthan gum) works well here, because there's no gluten structure to miss. Add an extra splash of milk if the batter looks stiff.
The sugar and the fat
Light brown sugar gives a lovely caramel depth, but white sugar, coconut sugar or even maple syrup all work. If you go with a liquid sweetener, hold back a little plant milk to keep the batter balanced. For the fat, any neutral oil is fine. Melted vegan butter makes it richer, and unsweetened applesauce works if you want it lower in oil, though the crumb turns slightly more cake-like.
The plant milk
Soy and oat are my favourites for richness, but almond, cashew or any unsweetened plant milk does the job. The loaf isn't fussy. I'd just avoid sweetened or strongly flavoured milks, since they can throw off the balance.
If you want a slightly tangier, more tender crumb, stir a teaspoon of lemon juice or vinegar into the milk and let it sit for a minute before using. It's a small trick borrowed from old-fashioned baking: the mild acid reacts with the baking soda for a touch more lift and a softer texture. Optional, but I do it more often than not.
Going gluten-free or refined-sugar-free
I get asked about both a lot, so here's my honest take. Gluten-free works genuinely well, better than in most bakes, because banana bread leans on moisture and fruit rather than gluten structure. Use a blend made for baking, add an extra splash of milk if the batter looks thick, and don't expect it to dome quite as high. The flavour is identical.
For refined-sugar-free, I lean on a mix of mashed banana sweetness plus a little maple syrup or coconut sugar. You won't get the same caramelised depth that brown sugar gives, and the loaf browns a touch less, but it's lovely in its own gentler way. Just reduce the plant milk slightly if you swap in a liquid sweetener, to keep the batter from going too loose.
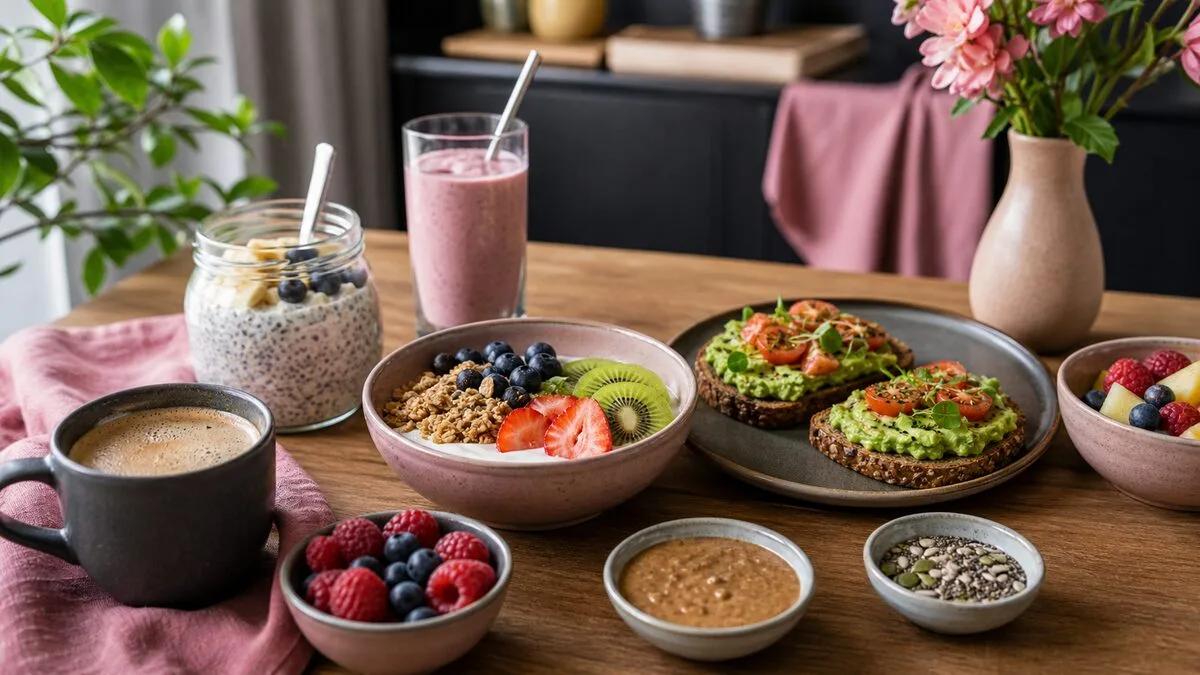
The beauty of a recipe this adaptable is that it folds easily into the rest of how I cook and bake. It sits comfortably alongside my other simple vegan desserts for the evenings I want something sweet without a project, and a thick slice doubles as one of my favourite easy vegan breakfast ideas when I'm out the door early.
Mix-ins, toppings and little variations
The plain loaf is perfect on its own, but banana bread is a canvas, and I rarely make it the same way twice. Here's how I dress it up depending on the mood.
The classics
- Walnuts or pecans: toasted first for a deeper flavour, roughly 80 g folded through. The nostalgic choice.
- Dark chocolate: chunks or chips, around 80 to 100 g. This turns it into more of a treat, and it's the version my friends request.
- Cinnamon swirl: a little cinnamon-sugar rippled through the batter before baking.
The grown-up versions
- Tahini and sesame: a swirl of tahini on top and a sprinkle of seeds, for a nutty, slightly savoury edge.
- Espresso and chocolate: a teaspoon of instant coffee in the wet mix deepens the chocolate beautifully.
- Berries: a handful of blueberries or raspberries, tossed in a little flour first so they don't sink.
A tip on folding in extras
Toss anything heavy, like chocolate chunks or fresh berries, in a teaspoon of the measured flour before you fold it in. The light coating stops them sinking straight to the bottom during baking, so you get an even scatter through every slice rather than a dense, sticky base. It's a tiny habit that makes the loaf look and eat better, and it costs you nothing.
The topping that earns its keep
If you do one extra thing, slice a banana lengthways and lay it cut-side up on the batter before baking. It caramelises into a gorgeous, glossy top and signals at a glance what's inside. A scatter of demerara sugar over it gives a thin, crackly crust that I love. It's the kind of small flourish that makes a loaf look made with care rather than just made.
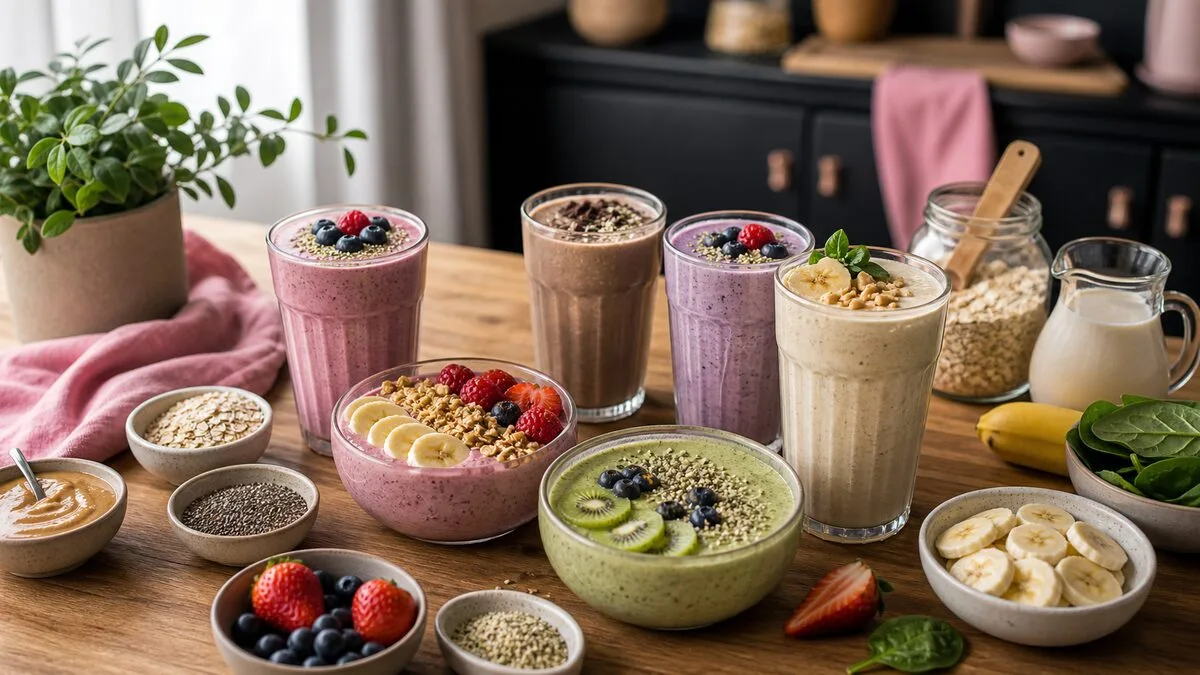
For a more wholesome slant, I sometimes add a spoon of ground flax and a handful of seeds, which nudges it gently toward the territory of my vegan protein smoothies: a snack that actually carries me to the next meal rather than leaving me peckish in an hour.
How I choose, depending on the day
If it's a quiet weekday and I just want something to have with tea, I keep it plain or add walnuts. If friends are coming, it's chocolate, every time, because a warm slice studded with melting dark chocolate feels generous in a way a plain loaf doesn't. And if I'm trying to make breakfast feel a little more substantial, in go the flax and seeds.
The point is that one base recipe, learned once, quietly becomes five or six different loaves. I rarely write down which version I'm making. I just open the cupboard, see what's there, and let the day decide. That flexibility is exactly why this is the bake I never tire of.
Troubleshooting a loaf that went wrong
Even an easy recipe has its failure modes, and I've hit most of them. Here's how to read what went wrong and fix it next time.
It's gummy or dense in the middle
Two usual suspects. Either you overmixed, which toughens the crumb, or you pulled it out too early and the centre hadn't set. Fold more gently next time, and trust the skewer over the clock: a few moist crumbs are good, wet batter is not. Ovens vary wildly, so start checking at fifty minutes.
It sank in the centre
Usually too much banana or liquid, or the oven door opened too soon. Stick to about three large bananas and resist peeking for the first forty minutes. A loaf that's slightly under-leavened can also dip, so make sure your baking soda and powder are fresh.
It's dry
Less common with all that banana, but it happens if you over-measure the flour. Spoon flour into the cup and level it, or weigh it, rather than scooping straight from the bag, which packs it down and adds far more than you think. Pulling it from the oven a few minutes earlier helps too.
The top burned before the middle cooked
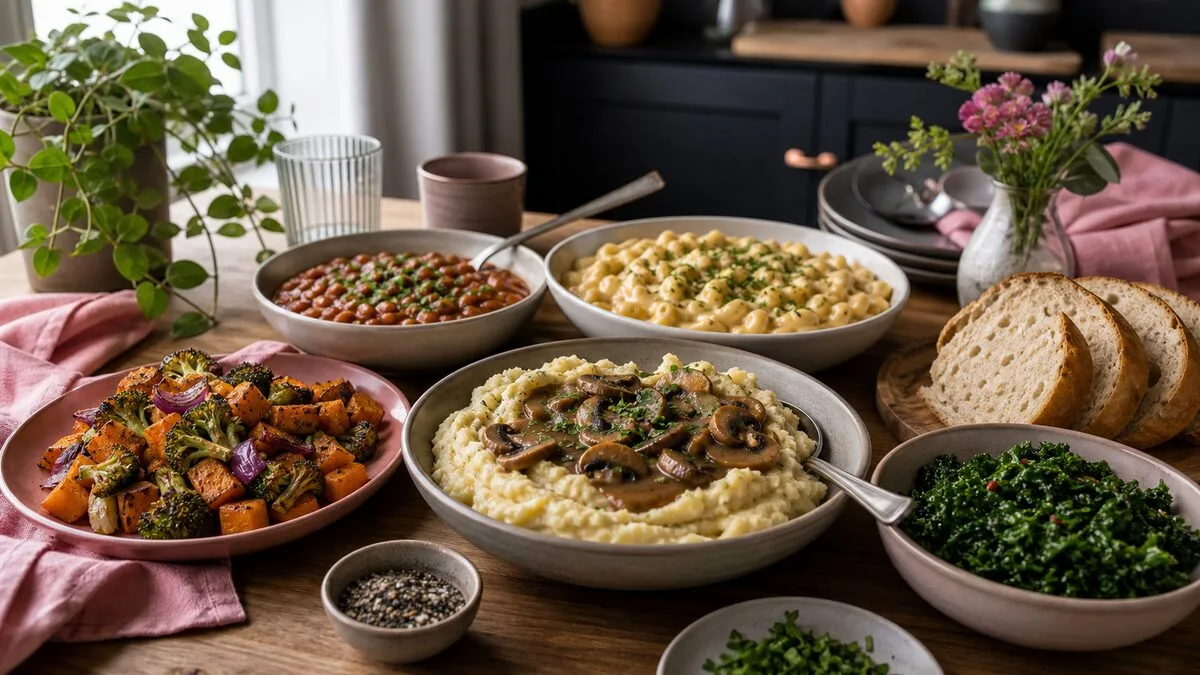
Your oven runs hot, or the tin sat too high. Move it to the middle shelf, and once the top is nicely golden, tent it loosely with foil for the rest of the bake. A simple loaf like this is exactly the kind of forgiving bake that belongs in a rotation of vegan comfort food, so don't let one wonky attempt put you off.
It didn't rise much
Check your raising agents first. Baking soda and powder lose their punch over time, and a tired tin of either gives you a flat, heavy loaf no matter what else you do. If they're fresh, the next thing to look at is your batter: overmixing knocks the air out, and a batter that sat around too long before baking loses lift as well. Mix it, then get it into the hot oven without delay.
A note on knowing your own oven
More than any single tip, baking well comes down to learning the quirks of your particular oven. Mine runs about ten degrees hot and bakes unevenly front to back, so I turn the tin halfway through. An oven thermometer costs almost nothing and takes the mystery out of it. Once you know your oven, a recipe like this becomes genuinely foolproof.
Storing it, freezing it, and the day after
Banana bread is one of those rare bakes that's arguably better the next day, once the crumb has settled and the flavour has had time to deepen. Knowing how to keep it well means you get to enjoy that.
On the counter
Wrap the cooled loaf tightly or keep it in an airtight container at room temperature for up to three days. I find day two is the sweet spot: moist, settled, and somehow more banana-forward than it was fresh. Slicing only what you'll eat keeps the cut edge from drying out.
In the freezer
It freezes beautifully for up to three months. I slice the whole loaf first, then freeze the slices with little squares of parchment between them. That way I can take out exactly one, toast it straight from frozen, and have warm banana bread in two minutes flat. It's a small ritual I've come to love on slow mornings.
The best ways to eat the leftovers
- Toasted, with a smear of vegan butter melting into the warm crumb.
- With a spoon of nut butter and sliced banana for a more filling breakfast.
- Lightly griddled in a dry pan until the edges crisp, then drizzled with maple.
Why it tastes better the next day
It isn't your imagination. As banana bread cools and rests, the starches set, the moisture redistributes evenly through the crumb, and the banana flavour mellows and deepens. A slice eaten fresh from the oven is lovely but a little one-note. The same slice the next morning tastes rounder, sweeter and more like itself. I genuinely prefer to bake it the evening before I want it.
That patience pays off in texture too. A rested loaf slices cleanly instead of crumbling, which matters if you're packing it for a lunch or freezing it in neat pieces. So if you can, bake ahead. The loaf rewards a cook who plans, and it forgives one who doesn't.
That's the whole loaf, start to finish. It's the recipe I've made more than any other, the one I bake when bananas turn and the one I bring when someone needs a little comfort. It asks for almost nothing and gives back warmth, which feels like a fair definition of a good recipe to me. Bake it once and I suspect it'll quietly become yours too.
The recipe
Easy vegan banana bread
Ingredients
- 3 large very ripe bananas (about 350 g), mashed
- 150 g light brown sugar
- 80 ml neutral oil, such as sunflower or light olive oil
- 120 ml plant milk (soy or oat)
- 1 tsp vanilla extract
- 260 g plain flour
- 1 tsp baking soda
- 1 tsp baking powder
- ½ tsp fine salt
- 1 tsp ground cinnamon (optional)
- 80 g walnuts or dark chocolate chunks (optional)
Method
- Heat the oven to 175°C (350°F) and line a 900 g loaf tin with parchment.
- In one bowl, mash the bananas well, then whisk in the sugar, oil, plant milk and vanilla until smooth.
- Add the flour, baking soda, baking powder, salt and cinnamon, and fold gently until just combined with no dry streaks.
- Fold through the walnuts or chocolate, saving a few for the top, then scrape into the tin.
- Bake for 50 to 60 minutes, until a skewer comes out with a few moist crumbs, then cool in the tin for 15 minutes before lifting out.
Common questions
Do I really not need any egg replacer?
Correct, you don't. The mashed banana binds the loaf on its own, which is why this recipe is so simple. There's no need for flax eggs, applesauce or commercial egg replacers here. Adding them on top of the banana usually makes the loaf gummy rather than better.
Can I make it lower in sugar or oil?
Yes, within reason. You can cut the sugar to about 100 g, since very ripe bananas are already sweet. For the oil, you can swap up to half for unsweetened applesauce. Go too far on both and the crumb turns drier and a little dense, so I'd change one thing at a time.
Why did my banana bread turn out gummy?
Almost always overmixing or under-baking. Fold the batter only until the flour just disappears, and check doneness with a skewer rather than the timer. A few moist crumbs mean it's ready; wet batter means give it longer, tenting the top with foil if it's browning fast.
Can I turn this into muffins?
Easily. Spoon the same batter into a lined muffin tin, filling each about three-quarters full, and bake at 175°C for 20 to 25 minutes. You'll get around twelve. They freeze just as well as the loaf and are handy for lunchboxes and quick breakfasts.